Mary berry Millet Buckwheat Crispy Treats With Cacao Nibs (Gluten-Free, Dairy-Free)
Nothing makes you appreciate organization more than total chaos. We’ve been in our new home almost three weeks now and working like mad to do some renovations before the two of us head back to work for the upcoming school year. The new place has great bones, character, and mood-lifting light, but there are elements throughout that look like someone threw a party in the mid-90s and forgot to clean up. So, things remain in boxes, shifted this way and that, to make room for the work that needs to be done.
 I stole away a couple times this week and headed over to my mom’s. We baked, we chatted, we laughed, and I made a mess of her kitchen. All things that were of comfort and a good break from the boxes, sawdust, and decisions awaiting me at home. And we made these millet buckwheat crispy treats.
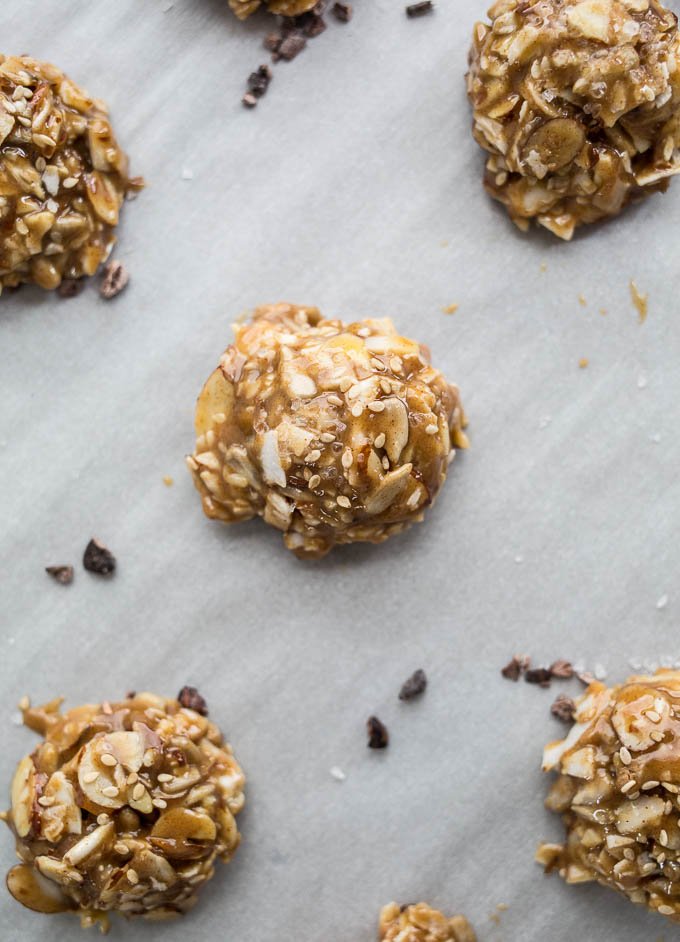
 The treats come together in a jiffy—no oven necessary. And while they are reminiscent of traditional rice krispie treats, they are almost a hybrid of crispy treat and granola bar. Puffed millet, rich in iron, calcium and B vitamins, is soft and airy while the buckwheat groats, full of protein and amino acids, add an earthy crunch. The hardest part about these treats is waiting for them to firm up in the freezer. But once they do, they make the perfect portable snack for road trips, picnics, or breakfast on your floor surrounded by boxes.

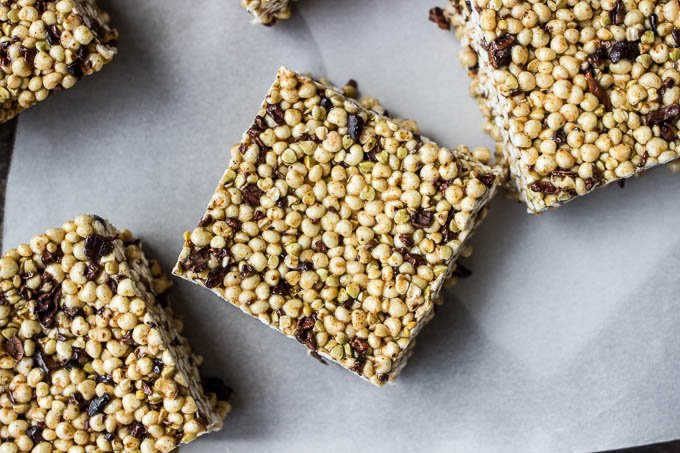
Millet Buckwheat Crispy Treats With Cacao Nibs
- ½ cup honey (or coconut nectar if vegan)
- ½ cup unsalted creamy almond butter
- ½ teaspoon sea salt
- 1 teaspoon pure vanilla extract
- 3 cups puffed millet
- ⅓ cup raw buckwheat groats
- ½ cup cacao nibs
- Coat an 8×8-inch baking pan with grease (use a 9×9-inch pan if you prefer a thinner result).
- Set a small saucepan over low heat and add the honey, almond butter, and salt. Stir from time to time until the mixture is fully blended. Take the pan off the heat, then whisk in the vanilla extract.
- In a large mixing bowl, stir together the millet and buckwheat. Pour in the almond butter mixture and mix until everything is evenly covered. Gently fold in the cacao nibs.
- Transfer the mixture to the prepared pan. Using parchment or wax paper, press it down firmly into an even layer. Freeze for about 45 minutes, then move to the refrigerator until you’re ready to slice and serve.

Thank you for reading! Follow me on Instagram and tag photos that you post of my recipes with #saltedplains. I would love to see!